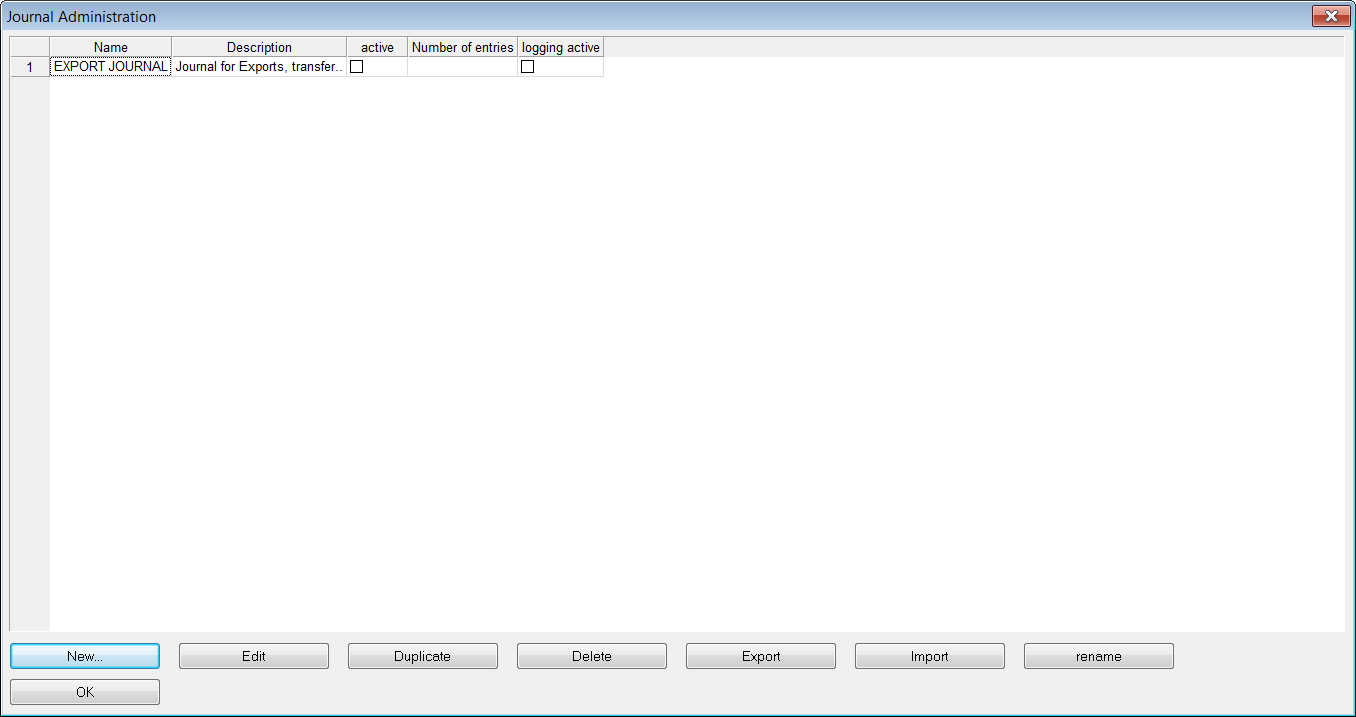
Open the dialog window in which you can create, change and delete journal definitions via the menu item Journal Administration… in the Administration menu. In this administrative window a list of all defined journals, containing the name, description and number of entries will be displayed as well as the facts active and logging active. The (de-)activation can take place directly in the list. At the bottom of the window you may find the buttons to create (New), Edit, Duplicate, Delete, Export, Import and Rename journals. Usually the list is empty when creating a journal definition for the first time.

Creating and Editing a Journal

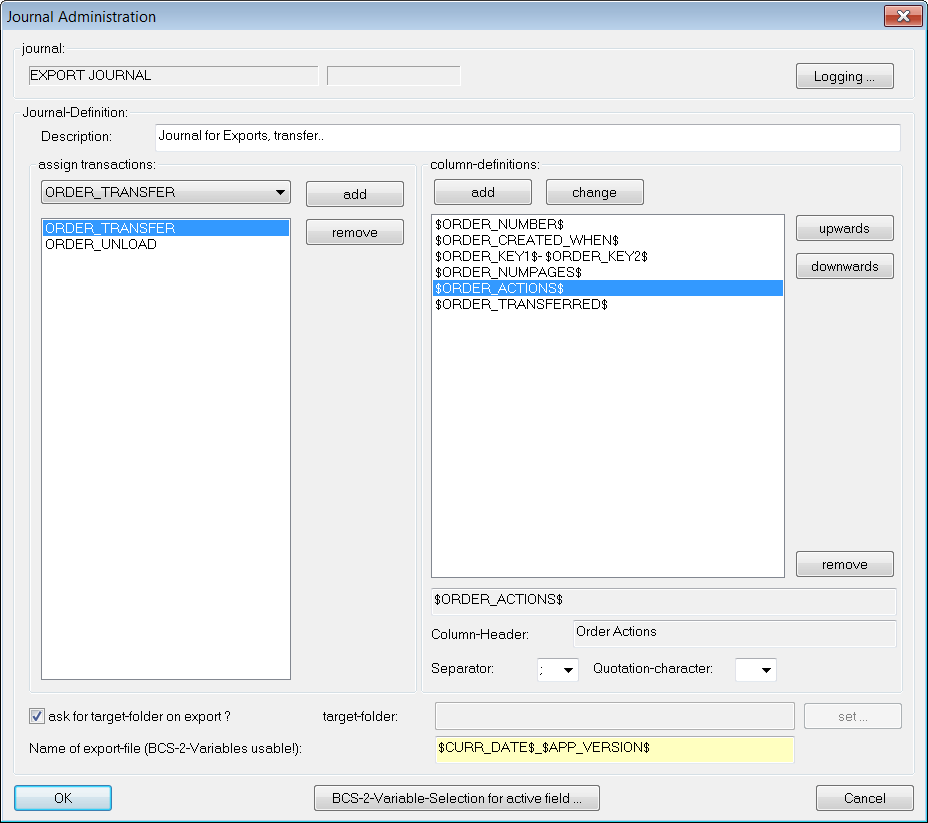
To create a new journal press the button New and enter the name of the new journal in the appearing window, after confirmation the Journal Administration window, which will also appear when you press the Edit button, will open.
At the top the Name of the journal is displayed, here you may also find the button logging. A short description of the journal can and has to be entered in the input box bellow.
The next two sections Assign Transaction and Column-definitions, influence the structure and content of the journal.
Assign Transactions
- On the left you’ll find a dropdown list with transactions, they are self-explanatory through their name but you can also find the descriptions in the BCS-2® Variables. These transactions trigger the filling of the journal with content – for each assigned transaction a new line will be added to the journal.
- To assign a transaction simply select the transaction desired from the dropdown list and press the Add button, the number of transactions assigned to a journal is only restricted by the number of transactions themselves. Remove a transaction by selecting it in the list and pressing the corresponding button.
Example:
ORDER_PDF_GENERATE is the assigned transaction. Now every time a PDF file is generated of a scan order, an entry in the journal will be made.
Column-Definitions

- On the right side you will have to define the content and structure the journal (table).
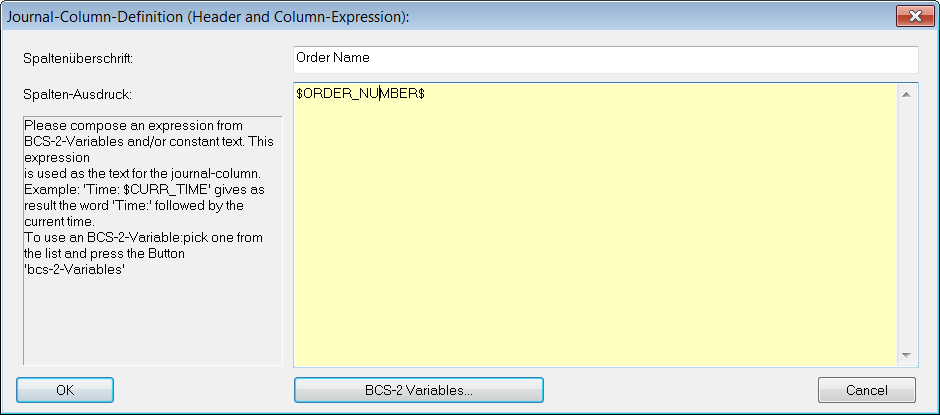
- Press the Add button to add columns to the table. Enter the name (Column-Header) and text, which will fill the cells of the table, in the appearing window. In general BCS-2® Variables are used for the text because of the dynamic content of the cells.
(The cells will be filled if triggered by an assigned transaction)
Logging

When you press the button Logging the pop-up window logging-settings for this journal opens. Here you can:
- activate the logging
- enter the number of journal-entries for automatic clearing: the journal will be automatically cleared after the set number of entries has been reached.
- folder for the log-file: select the path and folder for the log-file
- name of the log-file: The name will, by default, consist of the journal name and the file ending LOG.
