

1.1 Introductionadd section
This is a quick guide on how to configure the standard workflow delivered with BCS-2 for delivering a searchable PDF file.
1.2 Prerequesitesadd section
1.3 Configurationadd section
Open the BCS-2 Administrator.
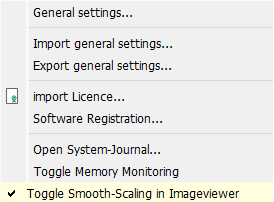
In the “Administration” menu, open >> “General Settings”.
Select the “Workflows” tab and BCS-2 will list all saved workflows.
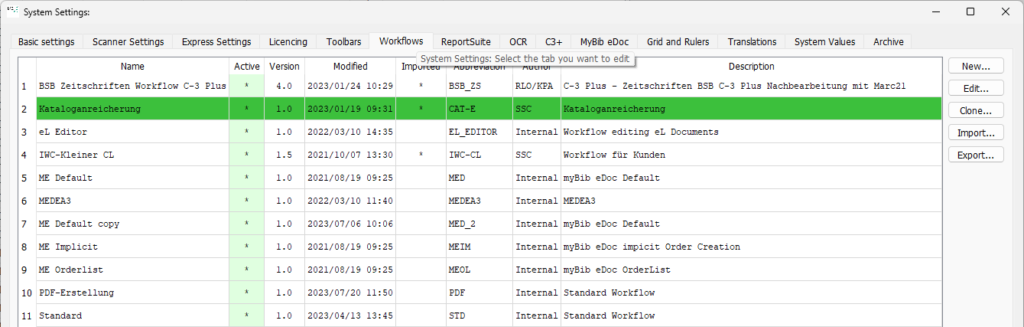
Clone the included “Standard” workflow by clicking on the “Clone” button on the right side of the screen. This way, the source workflow is still available to you as a template.
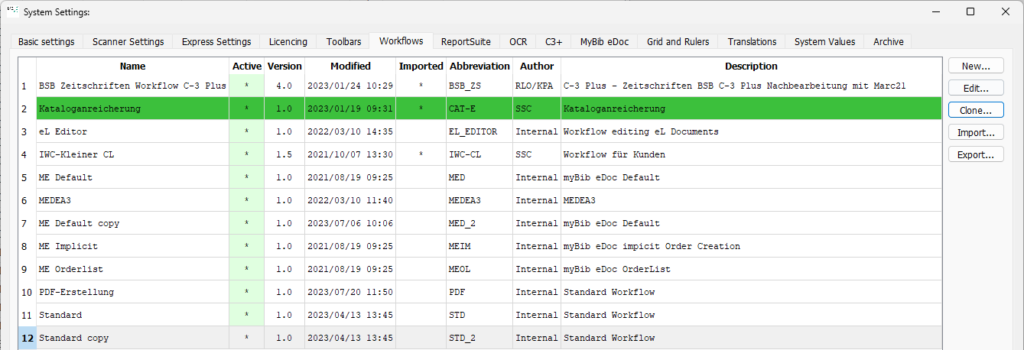
BCS-2 creates a copy of the workflow called “Standard copy”. Select the workflow by clicking on it and select the “Edit” button on the right side of the screen to configure your workflow.
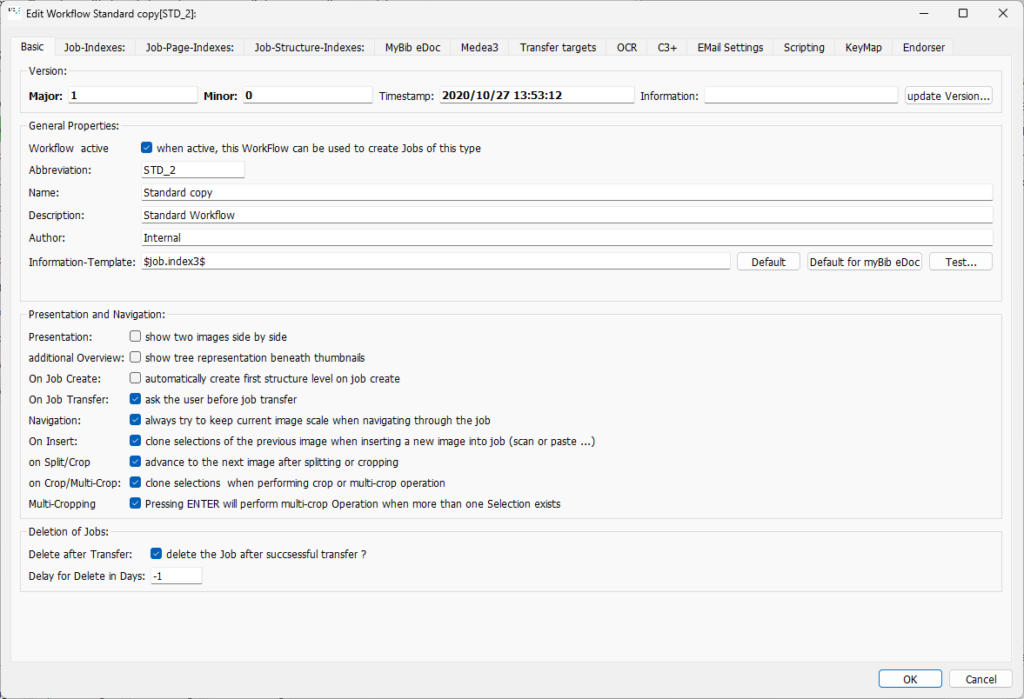
Configure the workflow as shown in the screenshot:
- BCS-2 fills in the version fields during creation.
- To be able to use your workflow immediately after creation, activate it by checking the “Workflow active” checkbox.
- Enter an abbreviation, a name, a description and the author of the workflow.
Open the “Transfer Targets” tab and select the “New” button on the right-hand side to configure a new transfer target.
Configure the transfer target as shown in the screenshot:
- Activate the checkbox “Transfer-Target active”.
- For the transfer target, enter a name, description, and the author of the transfer target.
- From the “Type” drop-down menu, select “Create PDF” and as “Channel” select “normal Filesystem-Transfer”.
- Enter a destination directory where BCS-2 will save the PDF files.
- Select “Use Original Filename” as the “Target file name”.
Open the “Images” tab.
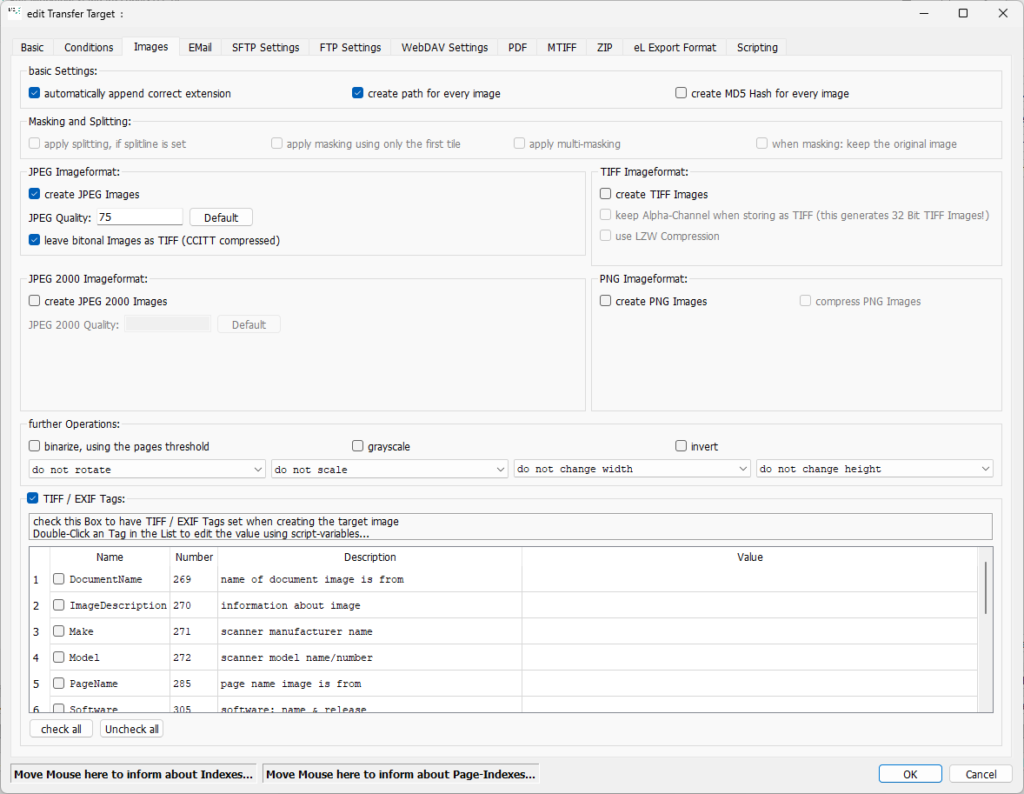
Only activate the “TIFF/EXIF Tags” checkbox here. You can keep all other settings.
Open the “PDF” tab.
Activate the checkbox “Create searchable PDF”. Confirm your entries by clicking the “OK” button.
Your workflow is now ready to use.