12.1 Prefaceadd section
With the help of the fee-paying endorser, you place watermarks on your images in the form of images and texts. This can be a logo to send BCS-2 orders CI/CD-compliant, but also text, e.g. to point out the special features of an order. It is also possible to position several endorsers on one image.
The “Endorse” function in BCS-2 is available in various menus and configuration steps:
- In the tab “Image” >> “use Endorser”
- In the tab “Job” >> “Apply an operation on the job” >> “Endorse Images”
- In the tab “Scan” >> “Operations after the scan” >> “Toggle Endorser after Scan”
- In the workflows in the script events
Note that the endorser feature works cumulatively. BCS-2 inserts all active endorsers every time the function is used, even if they already exist.
12.2 Setup and Configuration add section
Start your BCS administrator or Office Configurator and open the workflow for which you want to configure an endorser. Click on the Endorser tab.
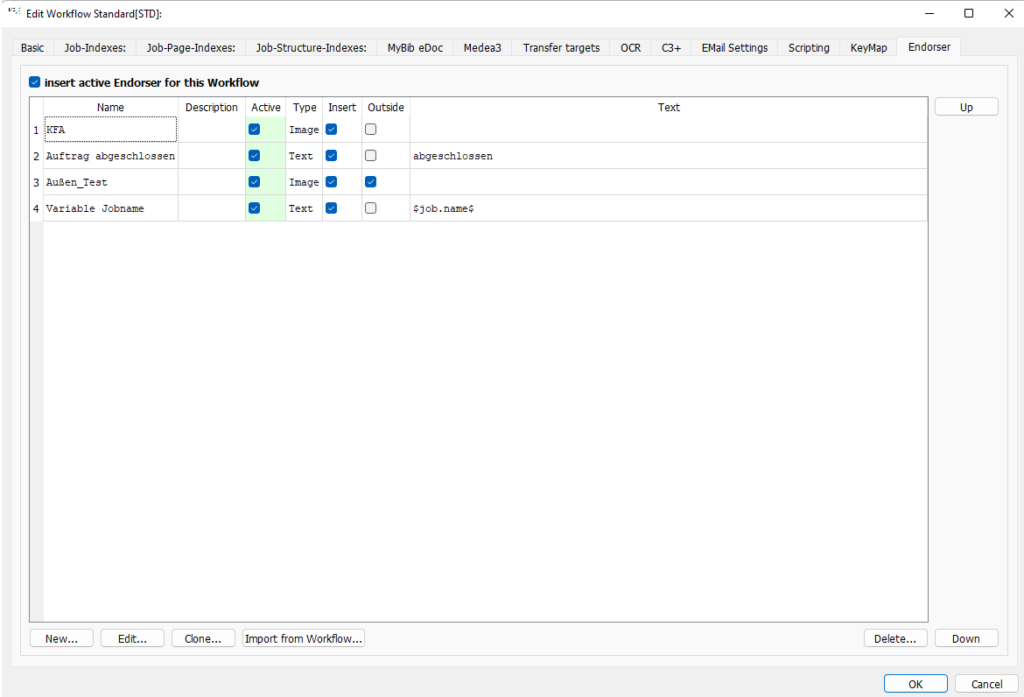
New…: Configure a new endorser.
Edit…: Edit an existing endorser.
Clone…: Clone an existing endorser.
Import from Workflow…: Import an endorser from another workflow.
12.3 New and Editadd section
By clicking on “New” or “Edit”, BCS-2 opens the form for creating a new endorser or for editing an existing endorser.
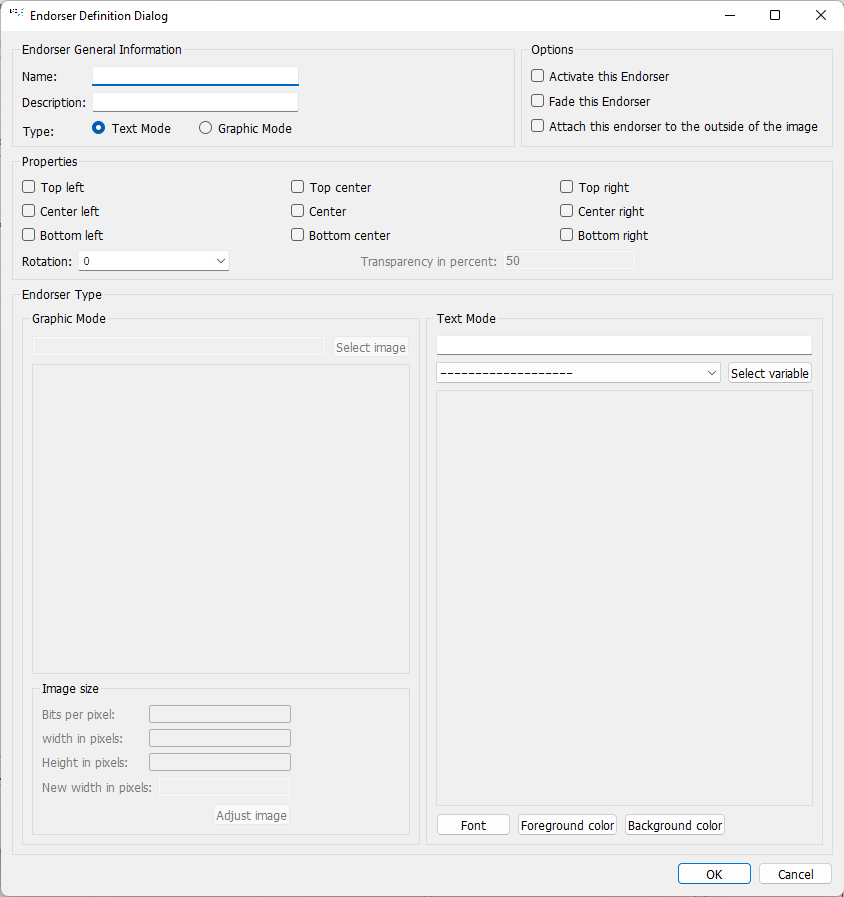
Endorser General Information:
Name: Name of the endorser
Description: Recognizable description of the endorser
Type: Image or Text
Options:
Activate this Endorser: Activates the endorser.
Fade this Endorser: Allows you to adjust the transparency of the endorser in the properties. The higher the value, the stronger the font or clearer the image. The scale ranges from 0-100, default is set to 50.
Attach this Endorser to the outside of the image: Always attaches the endorser to the top right and outside of the image. All other options are therefore not selectable.
Properties: Determines the position of the endorser on the image. It is also possible to rotate the image and adjust the transparency, provided that the selection field “Set transparency” is activated.
Endorser Type: Selection of the graphic to be displayed or enter the text to be displayed. Font, font and background color are configurable for texts.
Graphic Mode: Select the image you want to view from your hard disk or mapped network drives.
Image Size: Configures the width, height, and resolution of the image.
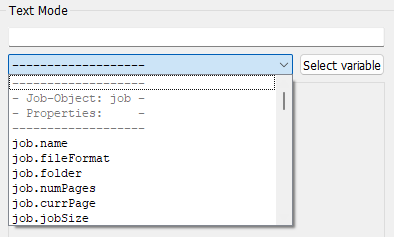
Text Mode: BCS-2 offers you two options for displaying endorser texts. On the one hand, the input of your own, freely selectable texts in the text field. On the other hand, the selection of existing data via the button “Select variable”. To do this, select the desired variable from the drop-down menu next to the button and confirm your choice by clicking on “Select variable”.
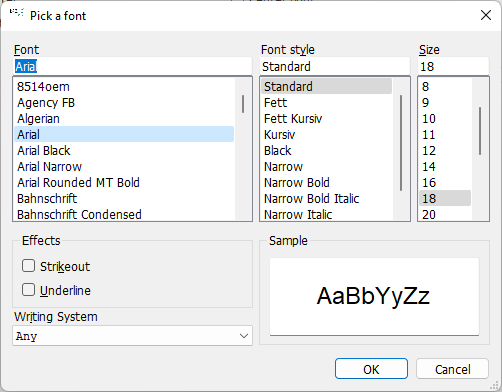
Use the “Font” button to set the font and font size.
A click on “Foreground color” or “Background color” allows you to define the font color or background color of the text.
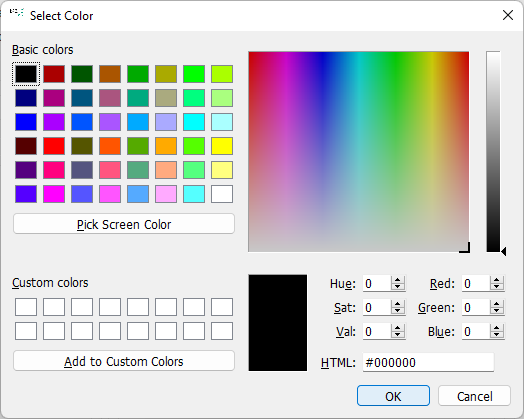
BCS-2 displays the text in the selected combination of font, font color and background color.

12.4 Clone add section
Select the endorser you want to clone from the endorser list by clicking on it.
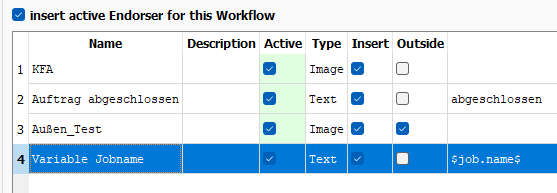
Now select the button “Clone…” and BCS-2 displays the cloned endorser in the familiar configuration window. BCS-2 inherits all configured settings. Only to the name of the endorser it appends a two.
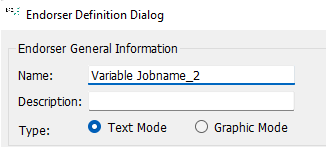
Edit the cloned endorser as usual and save it by clicking on “OK”.
12.5 Import from Workflowadd section
To import an endorser, click on “Import from workflow…”. BCS-2 displays a list of currently available workflows.
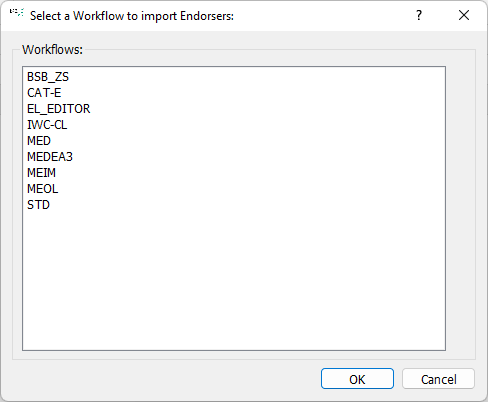
Select the workflow that contains the endorser you want to import and click OK. BCS-2 displays a list of endorsers configured for the workflow. By default, all existing endorsers are marked for import. If you want BCS-2 to import only one particular endorser, click to disable the other endorsers.
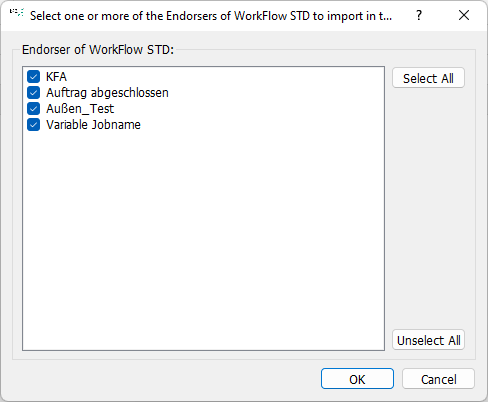
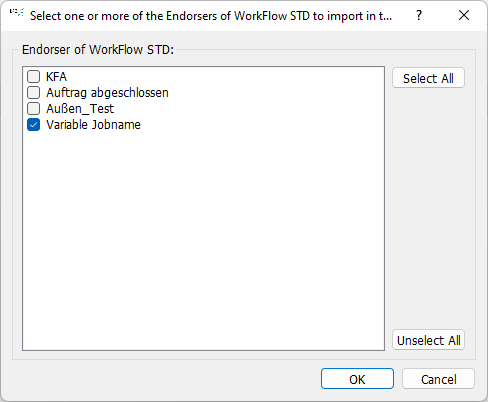
Click “OK” and BCS-2 will import the desired endorser(s) and displays them in the endorser list.

Activate the imported endorser(s) by clicking on “insert active endorser for this workflow”.
