

3. Scanner Settingsadd chapter
In the ‘Scanner Settings’ tab you can manage and configure the scanners that can be selected in BCS-2 and their interactions. Scanners that are connected via Twain are automatically displayed on the right-hand side of the available scanners; network scanners must be added using the corresponding button. In order for a scanner to be selected in BCS-2, it must be moved from the ‘Available scanners’ list to the ‘Selectable scanners’ list.
You can find an overview of the supported scanner models here: Scanner Connection
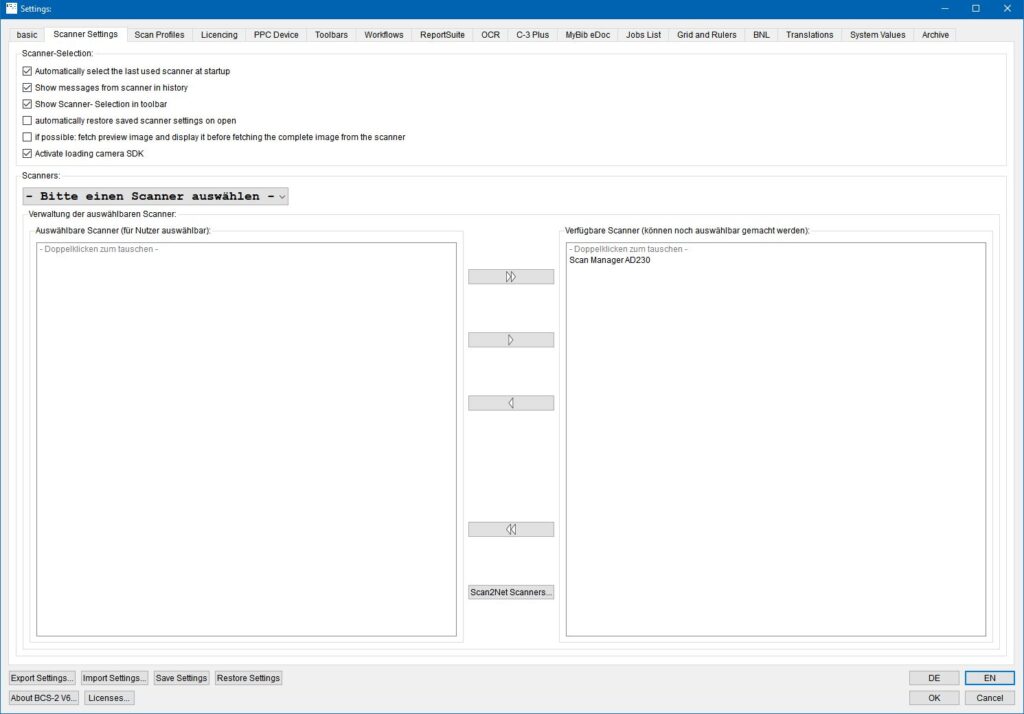
Selectable Scanners
Automatically select the last used scanner at startup: When started, BCS-2 directly addresses the last scanner used.
Show messages from scanner in history: BCS-2 displays scanner messages below the application window header.
Show Scanner-Selection in toolbar: Scanners connected to BCS-2 can be selected via the toolbar in the application. Before activating this function, make sure that both the connected scanners and the associated scanner plugins also technically support the functions behind the BCS-2 icons. This function is only necessary if you control several scanners via BCS-2.
automatically restore saved scanner settings on open: When starting or selecting a scanner, BCS-2 checks whether settings are saved for the corresponding scanner and loads them automatically.
if possible: fetch preview image and display it before fetching the complete image from the scanner: Loads the preview images of the scans for checking and thus saves resources.
Activate loading camera SDK: If you want to use a camera to scan activate this setting and restart BCS-2 to load the camera SDKs.
Add Scanner to Selection: To add a scanner to the “Selectable scanners” list, select it in the “Available scanners” list and either use the arrow keys or double-click to accept it. Click on the double arrows to move all scanners to the “Available scanners” list or remove them from there.
Register a scanner in BCS-2 and add it to the “Available Scanners” list
Scan2Net Scanners…: Opens the list of network scanners registered in BCS-2 with the associated administration functions.
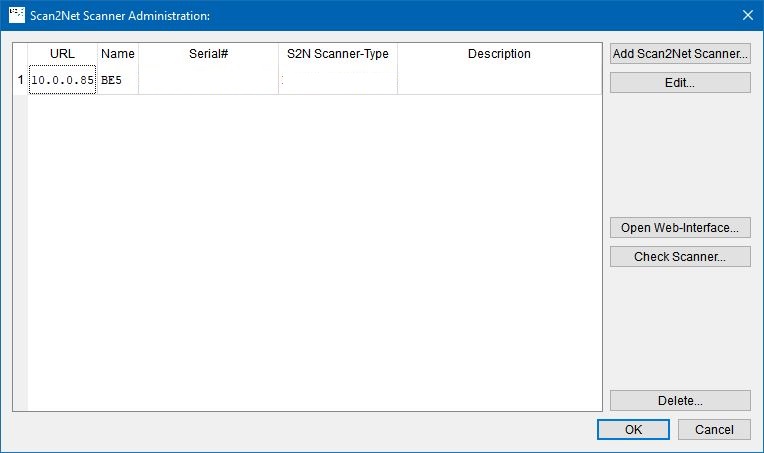
The scanner list contains the following fields:
- URL: IP address of the scanner
- Name: Name of the scanner
- Serial#: Scanner serial number
- S2N Scanner-Type: Official scanner designation
- Description: Optional description
Add Scan2Net Scanner: Opens the form to registrate new scanners.
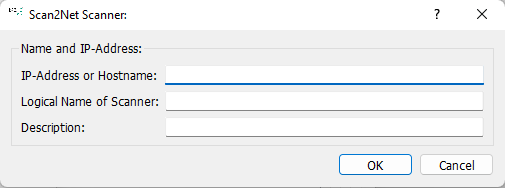
Fill out the form:
- IP-Adress or Hostname: IP address of the scanner
- Name of Scanner: Name of the scanner
- Description: Concise characterization of the scanner
By confirming the form by clicking on “OK”, BCS-2 registers the new scanner and lists it in the scanner management.
Edit/Check/Delete Scanner: To check, edit or delete a scanner, first select it in the overview list with a click.
Edit: Öffnet das Formular für die Scanner-Erfassung (s.o.) zur Bearbeitung der hinterlegten Daten.
Check Scanner: Tests the configuration and the connection of the respective scanner. When checking the scanner, BCS-2 adds additional scanner information such as serial number and series type to the overview list.
Delete: Removes the selected scanner from the list.
3.1 Access and adjust scanner settingsadd section
In the standard toolbar interface, access the scanner-specific settings by pressing the gear button or via “Scanner Settings” in the “Scanning” menu:

BCS-2 displays all configuration options of the device as value fields, sliders or drop-down menus:
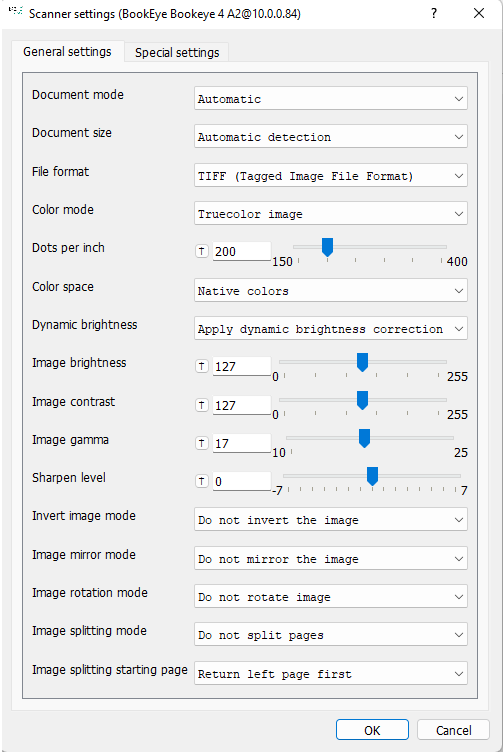
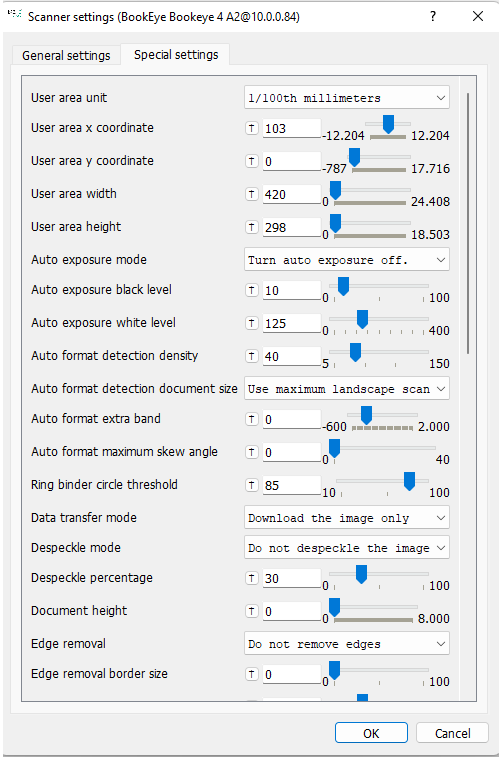
An arrow symbol is placed in front of the value fields and sliders. When hovering over the arrow with the mouse, BCS-2 displays information on the respective setting and the default value in a bubble help.